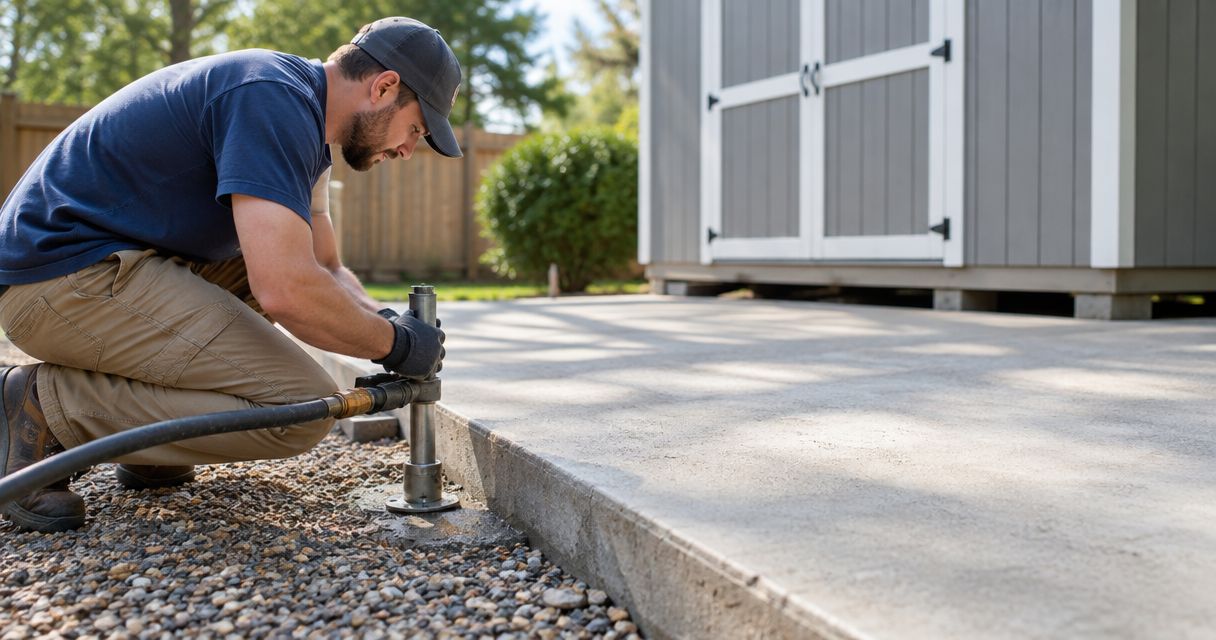
Concrete lifting for shed pads raises a sunken or tilted slab back to level by injecting expanding polyurethane foam underneath it, no demolition required. Outbuilding and shed pads settle differently than driveways or garage floors — smaller footprint, lighter load, but often poured with no engineered fill — so the diagnosis and the fix look different too.
- Concrete lifting for shed pads uses polyurethane foam injected through small holes to raise a settled slab back to level in one visit.
- DIY shims and paver base only mask early settling — they don’t stop the pad from continuing to sink into soft soil.
- A pad tilted more than an inch toward the shed door signals soil movement underneath, not just a cosmetic dip.
- Aztec Spray Systems lifts shed and outbuilding pads across Calgary, Okotoks, High River, and Lethbridge with polyurethane injection.
Why concrete lifting matters for shed and outbuilding pads
Most backyard shed pads in Alberta are poured as a simple slab, not on footings that reach the frost line. Alberta's building code calls for footings below roughly 1.2 metres (4 feet) on structures that require them, but a 10×12 shed pad usually skips that entirely — it's a slab on grade, sitting directly on whatever fill was under it the day it was poured.
That's why shed pads move faster than driveways when the soil underneath shifts. A soft corner from poor compaction, a downspout dumping water against one edge, or a season of freeze-thaw in Calgary clay is enough to tip a small pad noticeably. Once a corner drops, the door binds, water starts pooling toward the shed wall instead of away from it, and the gap keeps widening every winter. How polyurethane concrete lifting works explains the injection process in more detail if you want the mechanics before you call anyone.
Ignoring a tilted pad doesn't just look bad. Water redirected toward a shed foundation or an outbuilding wall accelerates rot in wood-frame structures and can undermine the pad further with every rain in 2026 and beyond.
Inspect the pad for settling patterns
Start with a walk-around before you touch anything. This step costs nothing and tells you whether you're dealing with cosmetic unevenness or active settling.
- Set a level or a marble on each corner and see which way it rolls
- Check whether shed or outbuilding doors bind, drag, or won't latch
- Look for a gap opening between the pad edge and the skirting or wall
- Note where water pools after rain — it should never sit against the structure
- Check for cracks running from a corner toward the centre of the slab
Check what's under the pad
The surface tells you something is wrong; the ground underneath tells you why.
- Ask or recall what fill went down before the pad was poured — native clay settles more than compacted gravel
- Look at nearby downspouts and grading — water dumping next to the pad is a common cause
- Check for tree roots on one side pulling moisture unevenly from the soil
- Consider any recent excavation, utility trenching, or landscaping near the pad
Try DIY leveling first for minor unevenness
Small, cosmetic dips don't need a contractor. Bigger drops do.
- Composite shims under the low corners of a skid-built shed
- Paver base leveling sand packed into small gaps under a slab edge
- Self-leveling compound for hairline low spots on the top surface
- Re-setting the shed on new blocks if it sits on a floating skid foundation, not a poured slab
“Shimming a sunken corner buys time — it doesn’t fix the soil underneath, and the pad keeps sinking.”
Bring in professional concrete lifting for structural settling
Once a corner has dropped more than an inch or the slab itself has settled — not just the shed sitting on top of it — shims stop working. This is where Aztec Spray Systems does concrete lifting rather than pad replacement.
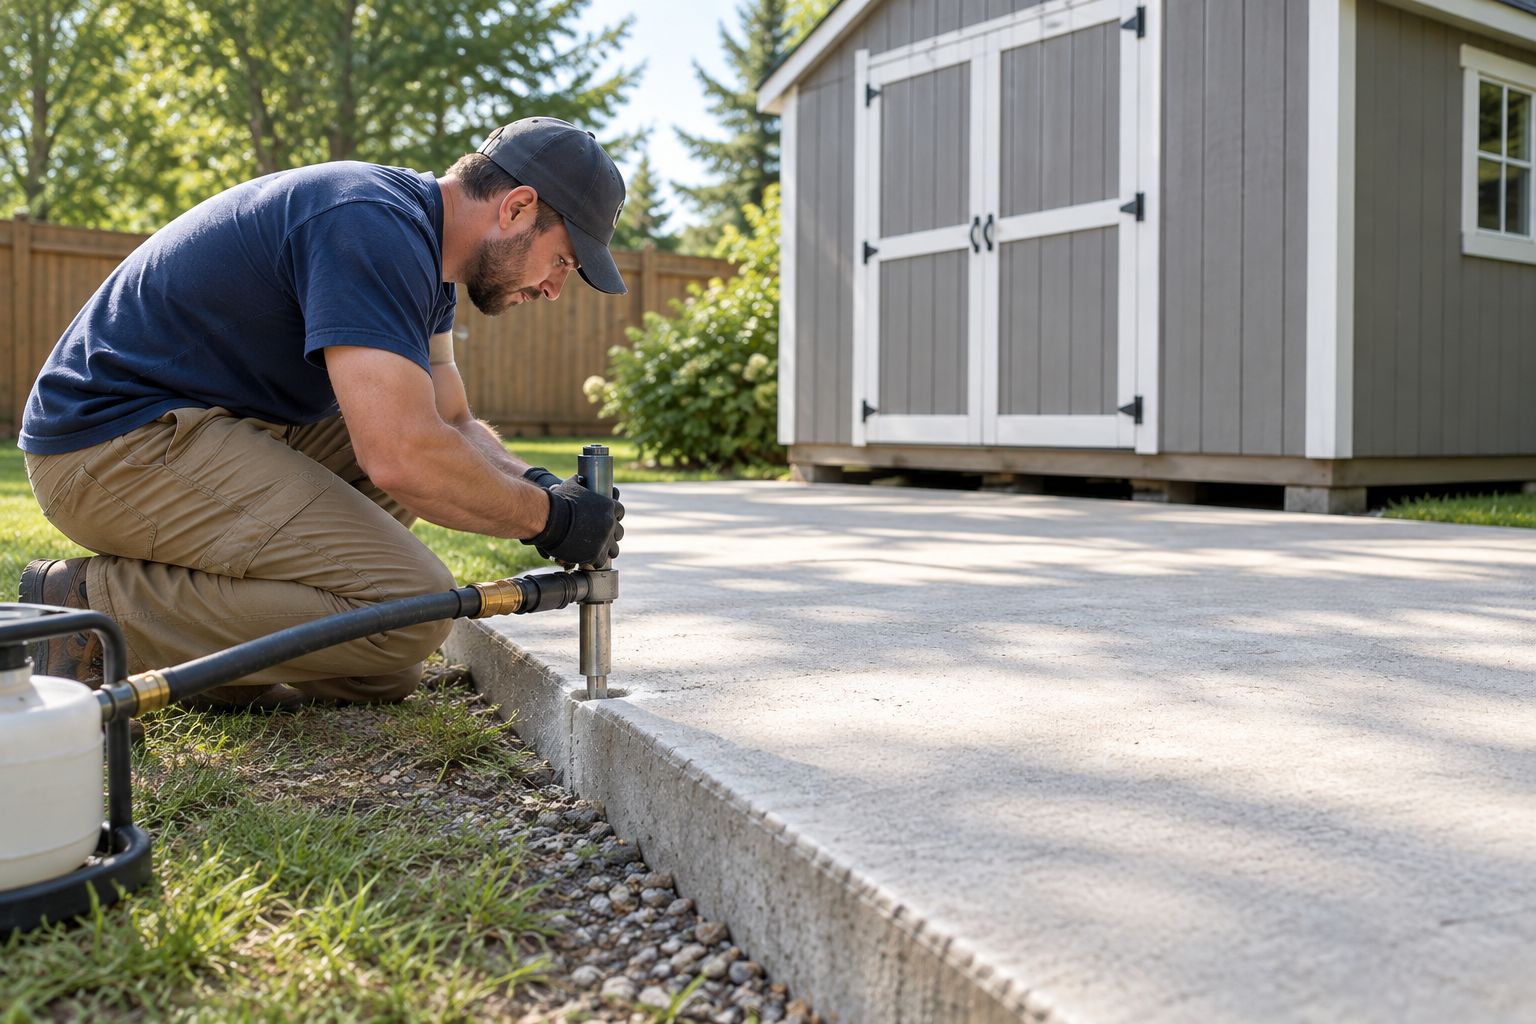
- Small entry holes, roughly dime-sized, drilled through the slab at the low points
- Polyurethane foam injected below the pad, expanding to fill voids and compact loose soil
- The slab lifts back toward level in the same visit, monitored corner by corner
- Entry holes patched the same day
- No excavation and no multi-day cure before the pad can be walked on again
Re-grade the yard around the pad
Lifting the slab fixes the symptom. Grading fixes the cause.
- Slope soil away from the pad at a minimum grade so water runs off, not toward it
- Extend downspouts so they discharge well past the pad edge
- Add a gravel border along the low side to break up standing water
- Redirect any sprinkler heads currently aimed at the pad or shed wall
Schedule a follow-up check before winter
Alberta's freeze-thaw cycle is the reason pads that were level in the summer of 2026 can shift again by spring.
- Re-measure the corners each fall before the ground freezes
- Watch for new cracks appearing after spring melt
- Check drainage again after any landscaping changes
- Flag any new door binding immediately rather than waiting a full season
The same corner-by-corner diagnosis applies whether it's a shed pad or a bigger slab — the guide on how to tell if your garage floor needs concrete lifting walks through the same checks at a larger scale.
Comparing your options for a sunken shed pad
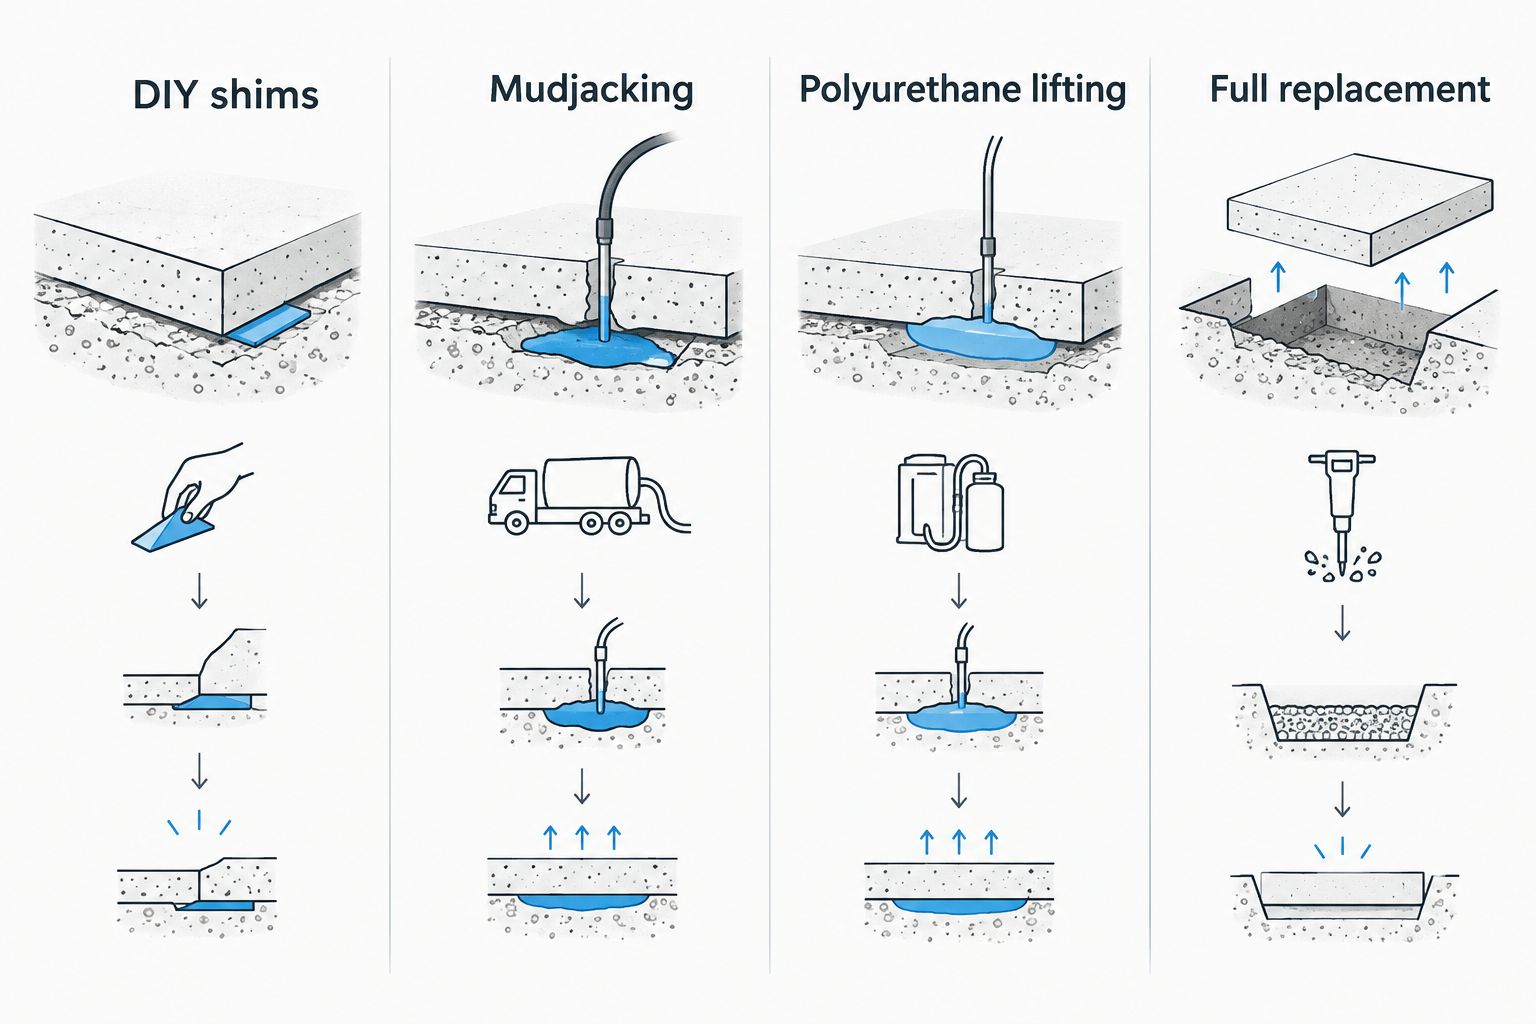
Most shed and outbuilding owners land on one of four paths once the pad is confirmed to be settling, not just uneven on the surface.
| Option | Best for | How it works | Key limitation |
|---|---|---|---|
| DIY shims or leveling sand | Minor cosmetic unevenness on skid sheds | Packing material under low corners | Doesn't touch the soil issue, needs repeating |
| Mudjacking (cement grout) | Larger pads where a heavier fill is acceptable | Pumping cement slurry under the slab | Heavier mix can stress already-soft soil, longer wait before use |
| Polyurethane concrete lifting | Structural settling on shed and outbuilding pads | Expanding foam injected through small holes | Needs the slab itself intact — won't fix a pad that's cracked through |
| Full pad replacement | Pads that are broken, not just settled | Demolition and repour | Shed comes off the pad, yard is out of use for days |
Verdict: for a shed or outbuilding pad that's settled but structurally sound, polyurethane concrete lifting is the option that fixes the cause without pulling the shed off its foundation.
Common mistakes shed and outbuilding pad owners make
- Waiting until the door won't close at all. By the time a shed door is fully jammed, the corner has usually dropped well past what shims can hide.
- Treating a shed pad differently than a garage slab. The diagnosis is the same regardless of size — see the checklist for signs a garage floor needs concrete lifting and apply it to the shed.
- Re-leveling the shed structure without touching the pad underneath. Shimming the building instead of the slab just relocates the gap.
- Ignoring drainage after the fix. A lifted pad with the same bad grading around it settles again on the same timeline.
Get your shed pad inspected before winter
Aztec Spray Systems serves Calgary, Okotoks, High River, and Lethbridge.
FAQ
What’s the best way to fix a sunken shed pad in 2026?
Polyurethane concrete lifting is the best fix for a shed pad that’s settled but not cracked through — it raises the slab in one visit without moving the shed. DIY shims only work for cosmetic dips, not structural settling.
Is concrete lifting cheaper than replacing a shed pad?
Lifting an existing pad avoids the cost of demolition and a repour, which makes it the lower-effort option when the slab is still structurally sound. Pricing depends on pad size and how much the slab has dropped, so check current figures for the specific job.
How long does concrete lifting take for a shed pad?
Most shed pad lifts are completed in a single visit since the pad footprint is small compared to a driveway or garage floor. The shed can typically go back into normal use the same day.
Can you lift a shed pad without moving the shed?
Yes — polyurethane injection works underneath the existing slab, so the shed stays in place during the lift. This is one of the main reasons it’s used instead of a full pad replacement.
Does concrete lifting work on gravel or paver shed pads?
Polyurethane concrete lifting is designed for poured concrete slabs, not loose gravel or paver bases. A gravel or paver pad that’s sunk usually needs the base material re-leveled and re-compacted instead.
What causes a shed pad to sink in Alberta clay soil?
Alberta’s heavy clay expands and contracts with moisture and freeze-thaw cycles, and a shed pad poured without engineered fill has nothing to resist that movement. Poor drainage around the pad speeds this up.
Is DIY shimming a permanent fix for a settling shed pad?
No — shims support the structure sitting on top of the pad but do nothing about the soil movement causing the slab to sink. The gap typically reopens within a season or two.
Do I need a permit to lift a shed pad in Calgary?
Concrete lifting doesn’t involve new construction or excavation, so it typically falls outside permit requirements that apply to new pads or footings. Confirm with your municipality if the outbuilding itself is also being modified.
One last thing
A 10×12 shed pad shows settling faster than a 40-foot driveway for a simple reason: a single soft corner has outsized effect on a small footprint. Check the corners every fall, before the ground freezes, and a small dip in 2026 won't turn into a jammed door and a standing puddle by spring 2027.
Related guides
- Concrete lifting for RV pads and carports
- Concrete lifting for barn and shop floors
- How much does concrete lifting cost in Calgary