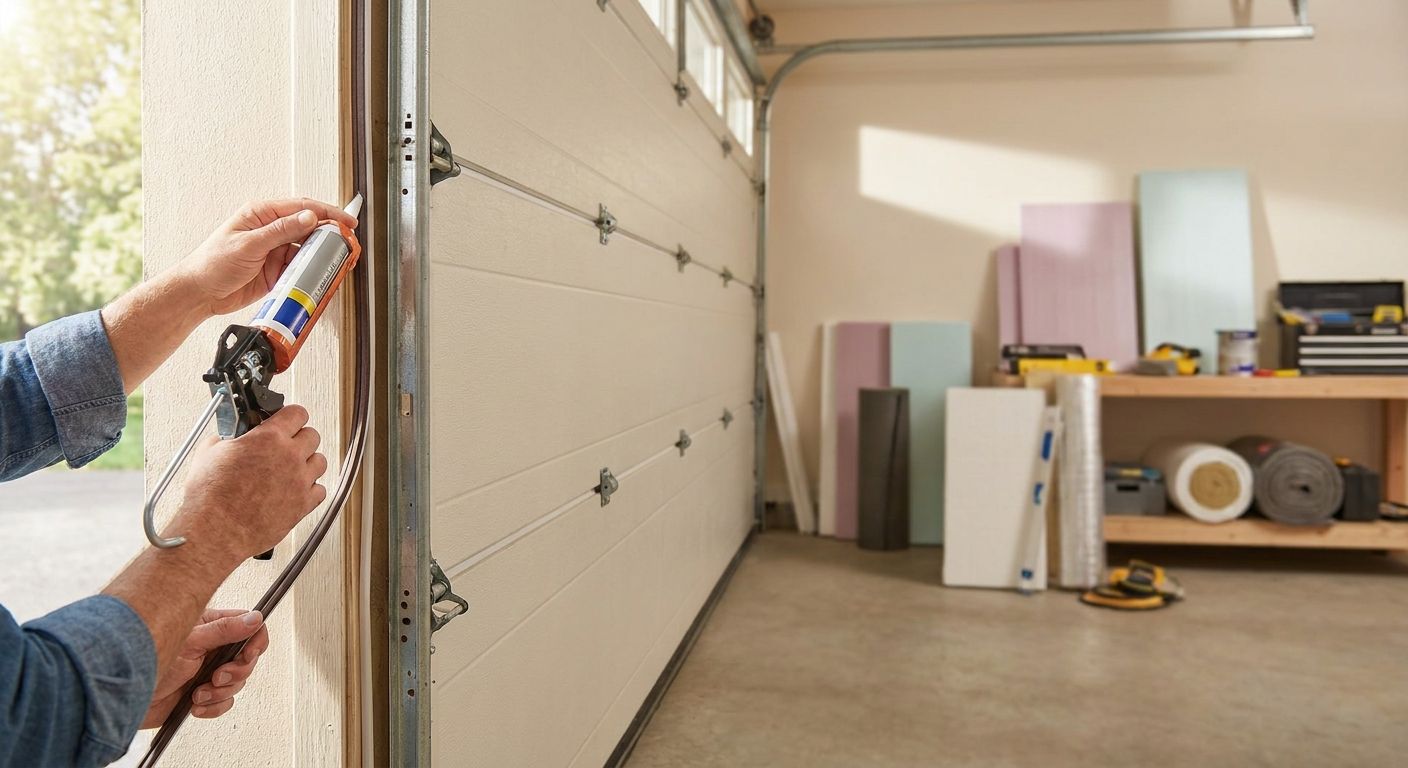
Garage doors leak more cold air into an Alberta home than almost any other single opening, and closing that gap is an afternoon project, not a renovation. This guide walks through sealing the door itself, the jambs, and the framing around it so the garage — and the rooms attached to it — stop losing heat all winter.
- Insulating a garage door’s gaps starts with a new bottom seal, foam-backed weatherstripping, and a panel kit rated R-8 or higher.
- The framing and wall around the door opening often leak more heat in 2026 than the door panel itself.
- A door that won’t seal flush anymore usually means the slab has settled, not that the weatherstripping failed.
- Most double-door jobs take one afternoon and under $150 in materials before you need a contractor.
Why this matters
A garage attached to living space, a mudroom, or an above-garage bedroom pulls cold air straight through door gaps and into the wall cavities next to it. In Calgary, Okotoks, High River, and Lethbridge, that cold air sits against -30°C design temperatures for weeks at a time, and a 1/4-inch gap under a 16-foot door adds up to a lot of surface area moving air. Sealing the door is the cheap fix. Insulating the wall and header around it is what actually stops the heat loss for good — that's the part most homeowners skip.
What you'll need
- A garage door insulation kit (best insulation for garage doors and walls covers what to buy for your door type)
- New bottom rubber seal (T-style or bulb-style, sized to your track)
- Self-adhesive foam or vinyl weatherstripping for the jambs and header
- Utility knife, tape measure, caulk gun
- Exterior-grade sealant or low-expansion foam for the header trim
- Two to three hours, one helper if the door is a double
Skip the insulation kit if your door is steel with a factory foam core — you only need the seals in that case, not panels.
The steps
1. Measure every gap before you buy anything
Run a flashlight along the bottom seal, both side jambs, and the header at night with the garage light off. Any light coming through is a gap worth sealing. Note the width in millimetres or fractions of an inch at the widest point — this tells you whether a standard seal will close it or whether the track itself has shifted. A gap wider than 1/4 inch along the bottom usually means the seal is worn out, not just dirty.
Common mistake: measuring only at the centre of the door. Gaps are almost always worse at the corners where the slab has settled slightly.
2. Replace the bottom seal
Pull the old seal out of its retainer track — it usually slides out sideways. Cut the new seal to the width of the door plus an inch, then feed it into the track and trim flush. A bulb-style seal compresses better against an uneven slab than a flat T-seal, so use bulb-style if your floor isn't perfectly level.
3. Weatherstrip the side jambs and header
Clean the jamb surface with a rag and rubbing alcohol so the adhesive foam actually sticks — this is the step most people rush and the seal fails within a season because of it. Run continuous strips down both sides and across the top, overlapping corners rather than butting them. Close the door and check for gaps once the door has settled against the new strip for a few minutes.
4. Install the insulation kit on the door panels
Measure each panel, cut the foam board to size, and press it into the retention pins or adhesive clips that come with the kit. Reflective-foil kits rated R-8 work for most sectional steel doors; thicker polystyrene kits push closer to R-13 if your garage backs onto living space. Leave a small air gap between the panel edge and the door frame — tight-packed foam against steel can trap condensation.
Common mistake: skipping panels near the top section because they're harder to reach. Heat rises, and the top panel loses the most.
5. Seal the header trim and side casing
Caulk the seam where the door frame meets the wall on the outside, and check the inside header for daylight gaps around the track hardware. A bead of exterior sealant here stops wind-driven snow from packing into the header cavity, which is a common source of ice buildup on the inside of garage doors through Alberta winters.
6. Insulate the wall and ceiling framing around the opening
This is the step that actually changes the temperature of the garage, not just the draft at the door. Uninsulated framing around a garage door opening is a direct thermal bridge to outside air, and it's usually a bigger heat loss source than the door panel itself once the seals are done. Spray foam insulation for garage walls and ceilings covers what's involved in closing that gap for good, and it's not a DIY step — it needs a licensed applicator.
7. Check the threshold for a slab problem, not a seal problem
If the new bottom seal still won't sit flush no matter how you adjust it, the concrete slab under the door has likely settled or heaved. No seal fixes a sloped floor. Concrete lifting for garage floors explains how that gets corrected without tearing out the slab.
8. Test the seal with a smoke stick or a hand check
On a cold night with the garage heater or furnace running, run your hand along every seam you just sealed. A lit incense stick works too — smoke drifting sideways at a seam means air is still moving through it. Fix any remaining spot immediately while the materials are still out.
Troubleshooting
- Seal looks fine but cold air still comes through: the leak is probably in the wall framing around the opening, not the door — see step 6.
- New bottom seal won't sit flush after a week: check for slab settling before blaming the seal itself.
- Condensation forms behind the insulation panels: you packed the foam too tight against the steel door — pull it back slightly for airflow.
- Weatherstripping peels off within a season: the jamb wasn't cleaned of oil or dust before the adhesive strip went on.
- Door drags or won't close fully after adding panels: the added weight from a thick kit can throw off spring tension — have the door serviced before forcing it.
Get the wall and header insulated properly
A licensed assessment covers the garage door opening, walls, and ceiling in one visit.
Tools and resources
- Insulation kit selection guide: best insulation for garage doors and walls
- Framing and ceiling insulation: spray foam insulation for garage walls and ceilings
- Slab-level diagnosis: concrete lifting for garage floors
- Tape measure, utility knife, caulk gun, rubbing alcohol, replacement bottom seal, weatherstripping kit
What to do next
Once the door and framing are sealed, the next question is whether your current insulation type is even rated for Alberta's swings between a mild Chinook and a -30°C cold snap. Best insulation type for Alberta winters breaks down what actually holds up through a full 2026 winter versus what just looks good on a spec sheet.
FAQ
What’s the best way to insulate a garage door gaps in 2026?
Replace the bottom seal, weatherstrip the side jambs and header, then add a foam insulation kit rated R-8 or higher to the door panels. Seal the header trim last with exterior caulk to stop wind-driven snow from packing into the frame.
Is it worth insulating an old garage door?
Yes, as long as the door itself is structurally sound and not warped. A weatherstripping refresh plus an insulation kit is far cheaper than replacing the door and closes most of the same gaps.
How much does a garage door insulation kit cost?
Standard kits for a double door typically run under $150 in materials, not counting new weatherstripping or seals. Panels rated closer to R-13 cost more than basic R-8 reflective foil kits.
Will weatherstripping alone stop cold air, or do I need a kit?
Weatherstripping stops air leaking around the edges of the door but does nothing for heat transfer through the steel panel itself. You need both the seals and the insulation kit for a fully sealed door.
Why does my garage door have a gap along the bottom in winter?
Cold contracts rubber seals and can also cause a concrete slab to shift slightly, opening a gap that wasn’t there in summer. If the gap reappears after a new seal, check the slab for settling.
Can spray foam be used directly on a garage door?
No, spray foam applied directly to a moving door panel can throw off the door’s weight balance and interfere with the spring system. Foam board insulation kits are designed for doors; spray foam belongs on the surrounding walls and ceiling.
Does insulating the garage door lower heating bills?
It reduces heat loss from the garage itself, which matters most if the space is attached to living areas or heated directly. The bigger bill impact usually comes from insulating the wall and header framing around the door, not the panel alone.
How often should garage door weatherstripping be replaced in Alberta?
Check it every fall before the first cold snap and replace bottom seals every two to three years, sooner if the rubber has cracked or gone stiff. Alberta’s temperature swings between Chinooks and deep cold age rubber seals faster than a stable climate would.
One last thing
Most homeowners fix the door and stop there, assuming the job's done. In garages built before double-wall framing became standard, the header and side jambs around the door opening often have no insulation at all behind the drywall or sheathing — which means a perfectly sealed door can still sit in a cold pocket. If the garage still feels cold after sealing every gap on the door itself, the framing is where the heat is actually going.
Related guides